
GymLedger is reader-supported. When you buy through links on our site, we may earn an affiliate commission. This helps us pay for the equipment we purchase at retail for testing.
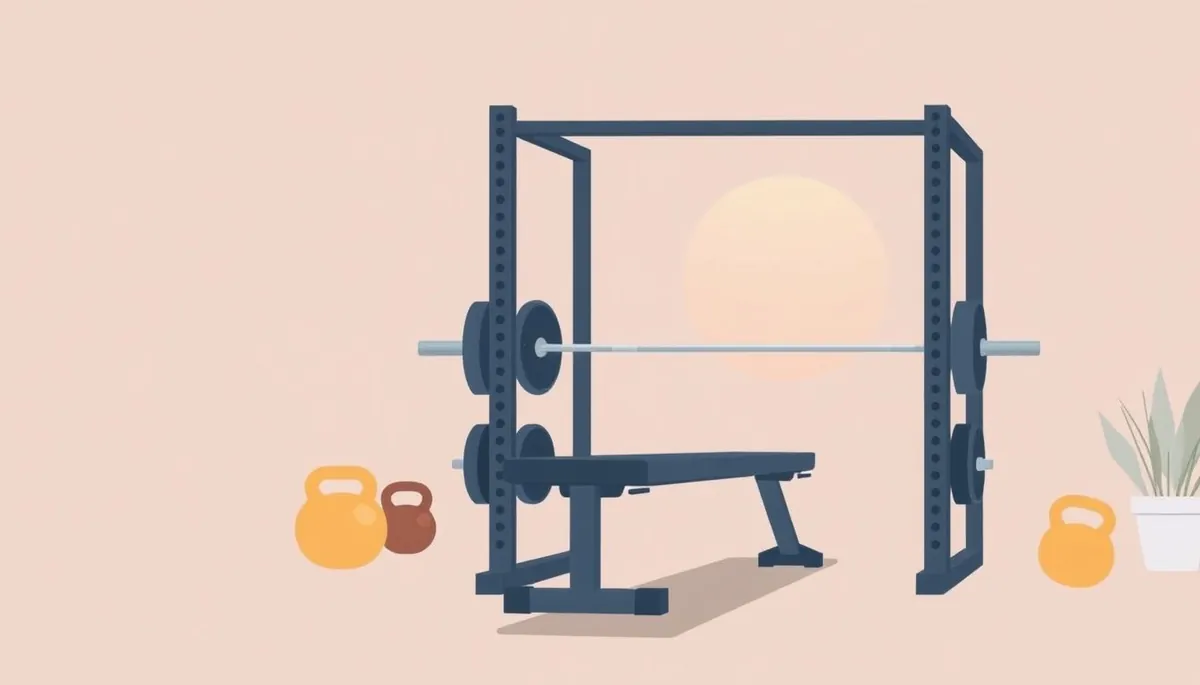
Building a home gym is about more than just the big pieces of equipment. The details in your power rack can make the difference between a frustrating workout and a smooth, productive session. While everyone focuses on steel gauge and weight capacity, the unsung heroes of power rack design are the small features that enhance usability. Let’s dive into the features that will make your power rack feel truly easy to use.
Hole Spacing: The Key to Precise Adjustments
Phone cases · 15% off first order
Phone Case GiftThey pick the model · 2 minutes Code FIRST15GIFT
Hole spacing is arguably the most impactful “quiet” feature of any power rack. It dictates how finely you can adjust your J-cups and safeties, directly affecting your positioning and safety during exercises.
Westside Hole Spacing: The Gold Standard
Westside hole spacing, characterized by 1-inch spacing through the bench press zone and 2-inch spacing elsewhere, is considered the gold standard. This tighter spacing in the bench area allows for micro-adjustments to perfectly dial in your bench press setup. This is crucial for optimizing your leverage, maximizing power output, and preventing shoulder injuries. Outside of the bench zone, 2-inch spacing is generally sufficient for squats, overhead presses, and other exercises.
Why It Matters: Beyond Bench Pressing
While Westside spacing is most noticeable during bench pressing, it also benefits other exercises. Consider setting up for rack pulls: with 2-inch spacing, you might find yourself slightly above or below the ideal starting position. 1-inch spacing gives you the flexibility to target the exact range of motion you want to work on. This level of precision is valuable for anyone serious about strength training.
What to Look For: Identifying Westside Spacing
Manufacturers often highlight Westside spacing in their product descriptions. Look for mentions of “1-inch spacing” or “Westside hole pattern” in the bench press zone. Examine product photos closely to visually confirm the tighter spacing in the lower portion of the uprights. Don’t assume that all racks have this feature; many budget-friendly racks use 2-inch spacing throughout.
Numbered Uprights: Eliminating the Guesswork
Numbered uprights are another seemingly minor feature that greatly improves usability. They allow you to quickly and accurately set your J-cups and safeties to the same height on both sides of the rack.
The Frustration of Unnumbered Uprights
Without numbered uprights, you’re forced to count holes every time you adjust your equipment. This is time-consuming, tedious, and prone to error. Even a slight discrepancy in height can throw off your balance, compromise your form, and increase your risk of injury.
The Efficiency of Numbered Uprights
Numbered uprights eliminate guesswork. Simply set your J-cups or safeties to the same number on each side, and you’re good to go. This saves time, reduces frustration, and ensures consistent setup for every workout.
Durability Considerations: How are Numbers Applied?
Consider how the numbers are applied to the uprights. Painted numbers are the least durable and are prone to chipping and fading over time. Laser-cut numbers are more durable but can be difficult to see in certain lighting conditions. Embossed numbers are the most durable and easiest to read.
Pin and Pipe Safeties vs. Strap Safeties: A Matter of Preference and Protection
Phone cases · 15% off first order
Titan CasePrecision fit · 2,000+ designs Code FIRST15TIT
Safety systems are crucial for protecting yourself during heavy lifts. Pin and pipe safeties and strap safeties are the two most common types, each with its own advantages and disadvantages.
Pin and Pipe Safeties: Reliable and Affordable
Pin and pipe safeties consist of two metal pipes that insert into the rack’s uprights and are secured with pins. They’re generally more affordable and offer reliable protection. However, they can be noisy and may damage your barbell’s knurling over time. The budget vs premium barbells article goes into detail on knurling.
Strap Safeties: Quieter and More Barbell-Friendly
Strap safeties consist of two heavy-duty nylon straps that suspend between the rack’s uprights. They’re quieter than pin and pipe safeties and are less likely to damage your barbell’s knurling. The straps also offer a bit of “give,” which can help absorb the impact of a failed lift. However, strap safeties are typically more expensive.
Choosing the Right Safety System: Consider Your Priorities
Consider your priorities when choosing between pin and pipe safeties and strap safeties. If you’re on a budget and prioritize reliability, pin and pipe safeties are a solid choice. If you’re willing to spend more for quieter operation and better barbell protection, strap safeties are worth the investment.
Attachment Compatibility: Expanding Your Training Options
A power rack’s versatility is greatly enhanced by its compatibility with various attachments. Look for racks with readily available and well-designed attachment options.
Spotter Arms: Essential for Solo Training
Spotter arms extend outward from the front of the rack, providing an extra layer of safety when lifting without a spotter. They’re particularly useful for exercises like squats and bench presses, where a failed rep can be dangerous. Ensure the spotter arms are long enough to catch the barbell comfortably and are sturdy enough to handle heavy loads.
Landmine Attachments: Adding Rotational Power
Landmine attachments allow you to perform a wide range of rotational exercises, such as landmine presses, rows, and twists. These exercises engage your core and improve your overall stability and power. The attachment should be securely mounted to the rack and allow for smooth rotation.
Dip Bars: A Classic Bodyweight Exercise
Dip bars are a simple but effective attachment for performing dips, a classic bodyweight exercise that targets your chest, triceps, and shoulders. The dip bars should be spaced comfortably apart and be able to support your weight without wobbling.
Pull-Up Bars: A Versatile Addition
Many power racks come with a built-in pull-up bar. Consider the height and diameter of the pull-up bar to ensure it’s comfortable for you to use. Also, check the pull-up bars buying mistakes to avoid before purchasing. Some racks also offer multi-grip pull-up bars, which allow you to vary your grip and target different muscle groups.
These are just a few of the “quiet” features that can make a big difference in the usability of your power rack. By paying attention to these details, you can choose a rack that will enhance your training experience and help you achieve your fitness goals. Take the time to research and compare different racks, considering your individual needs and preferences. You’ll be glad you did.


